Practical guide / beginner
Junk Journal for Beginners
A realistic first project: choose a small memory, print a proof and make one page before starting a whole book.
This is general guidance. Test your own printer, paper and adhesive with one proof before making a batch.
What you need
Keep the first attempt simple.
- Printer paper or light cardstock
- Scissors
- Glue stick
- One printable project
Step by step
- 01
Choose
Start with one memory, not a whole book.
- 02
Prepare
Print only the pages needed for one spread at Actual Size / 100%.
- 03
Test
Lay pieces without glue, then attach the background and pocket first.
- 04
Make
Add your photo or note last so it stays readable.
Make the advice usable
What a first page actually needs
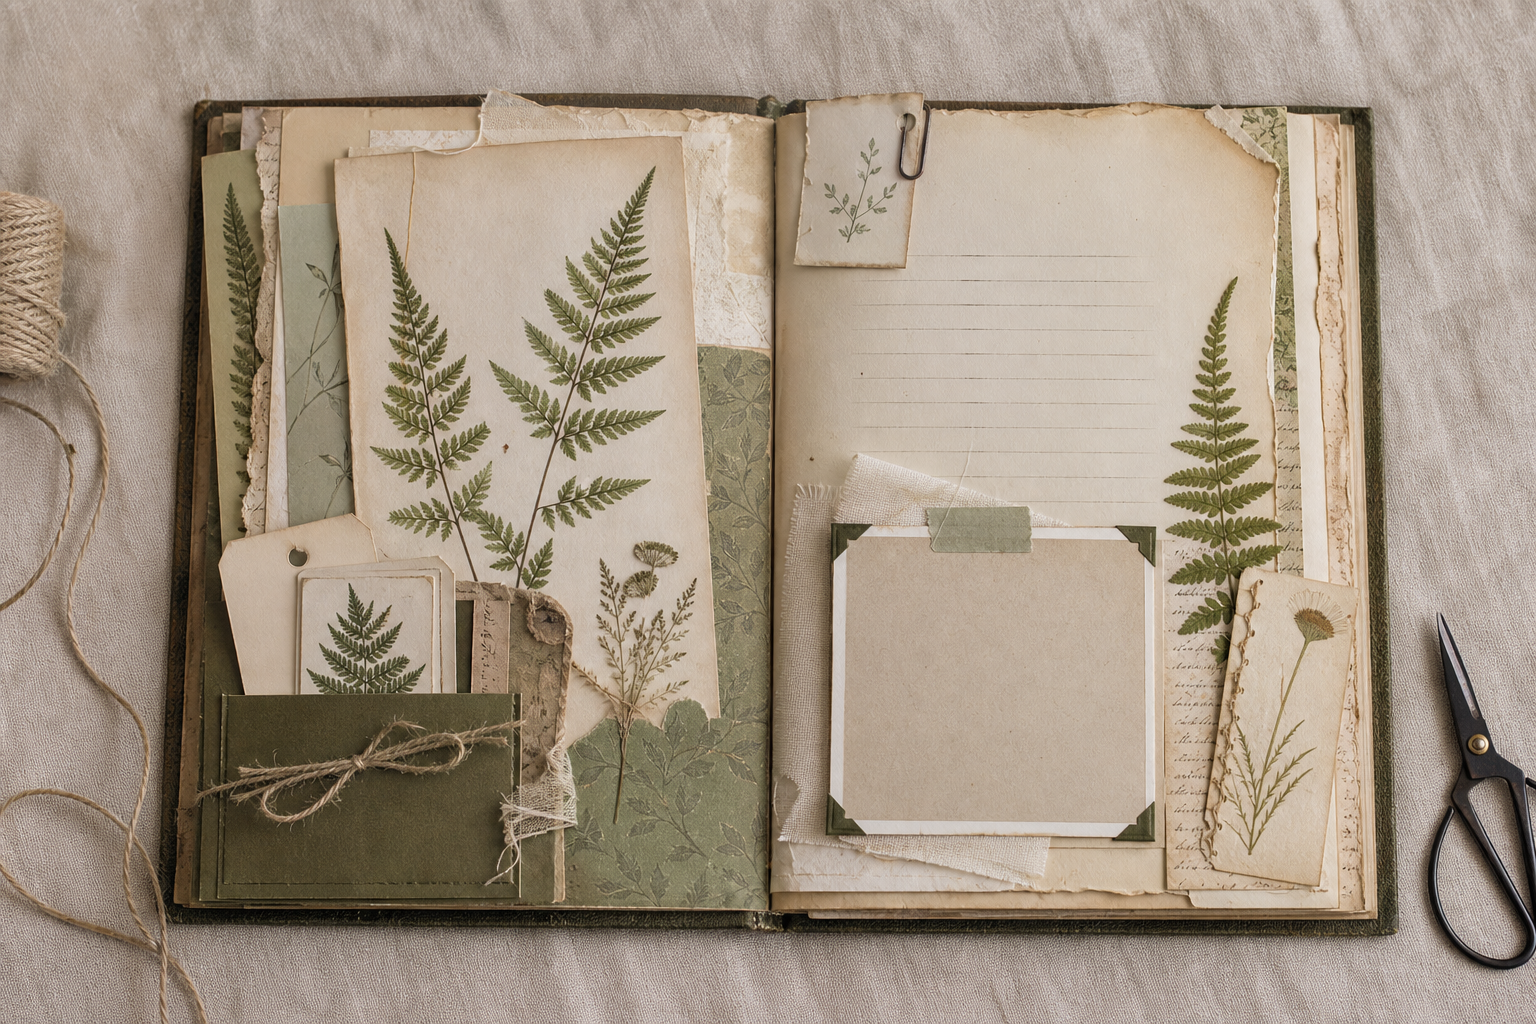
The first page is a small decision, not a miniature scrapbook. Give one memory a home before you add decoration.
- One anchor: a photo, ticket, postcard or short note.
- One base: use a pale printable page or ordinary paper.
- One holder or card: it creates a place for the story without filling every corner.
A realistic first print plan
Printing a whole collection before you know your scale is the fastest way to waste paper. Start with only the pieces that make one page possible.
- Print the First Print Checklist and one background or writing page.
- Add one journal card or pocket sheet, then make one small proof.
- Keep the first page open enough to read your own words.
When to stop planning
Stop once the page has a memory, a date and one supporting paper detail. A finished small page teaches more than a saved inspiration board.
- Write the date and place before adding the final accent.
- Photograph the finished page for your own reference.
- Let the next page use a different memory, not more of the same decorations.
Useful next pieces
Print only what helps this first attempt.
Try it with a real project